 | I've heard from enough people that there seems to be a demand for the basics on how to get started doing scribal activities. This is mostly directed at people who are in the Society for Creative Anachronism, but can probably be applied to anyone who wants to start doing art in their life no matter what. |
Materials
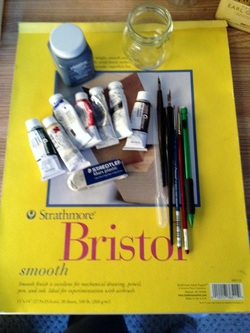
So to start off, you should go out and purchase the materials that you will need. I have spoken about this in a previous post here. I have updated it with links of the materials that I recommend. That doesn't mean that you have to buy these products from Dick Blick, etc., but it gives you an idea of what you are a looking for. Some of the materials are readily available on Amazon, in craft stores such at Michael's and A.C. Moore and Jo Ann's Fabrics. Compare prices and always go with professional grade over student grade. If you have a budget, and everyone does, buy only a few things to get you started, the minimum that you should have is some paints, some ink, some brushes, some paper, pencils, paint tray and some pens (crow quill and calligraphy), paper cups for water. You will also need a container for these things. Any bin will suffice and you can go as fancy or as utilitarian as you like. Eventually you will outgrow it once you get hooked, but at first you will want to have a clean storage bin for your materials.
Resources/Research
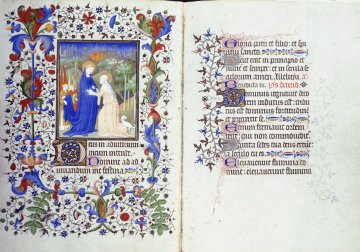
Above: Hours of Etienne Chevalier, 160 x 115 mm, c. 1420, Visitation, illuminated by the Master of the Boucicaut Hours
Before you start, take a look at artwork during the time between 500 A.D. to 1603 A.D. There are quite a few books out there that show you photographs of the art, but the internet has exploded with examples. One quick google search of "16th Century illuminated manuscripts" and click on images will give you scores of examples to look at. You do have to be careful and make sure that it is not someone's artwork that they have made such as printables or reproductions or someone's award scroll that they have made. Look for date, attribution and even the website where it is from. There are a lot of colleges, museums and libraries that are now making digitized manuscripts available for those interested in that type of research so they are out there. Find something that you like, that you believe to be in your ability. It doesn't have to be the whole exemplar, it can be just a small part of it that is interesting to you, such as the initial letter, some pretty vine work, or a background design. Print it out for yourself to use while you draw and paint.
Ready, set..........
Find yourself a clean space to work. It should have sufficient light. Your first couple of tries are just to get comfortable with the materials. Get a pencil, brush, the paint you are going to try, a crow quill pen, black ink, water for cleaning your brush, distilled water for adding to the paint, a pipette or eye dropper and paper.
Have what you are copying nearby. I usually stick it up with my blue painter's tape on the mirror right in front of me, but do what works best for you.
With the pencil, sketch out your piece. The first one should be fairly simple.


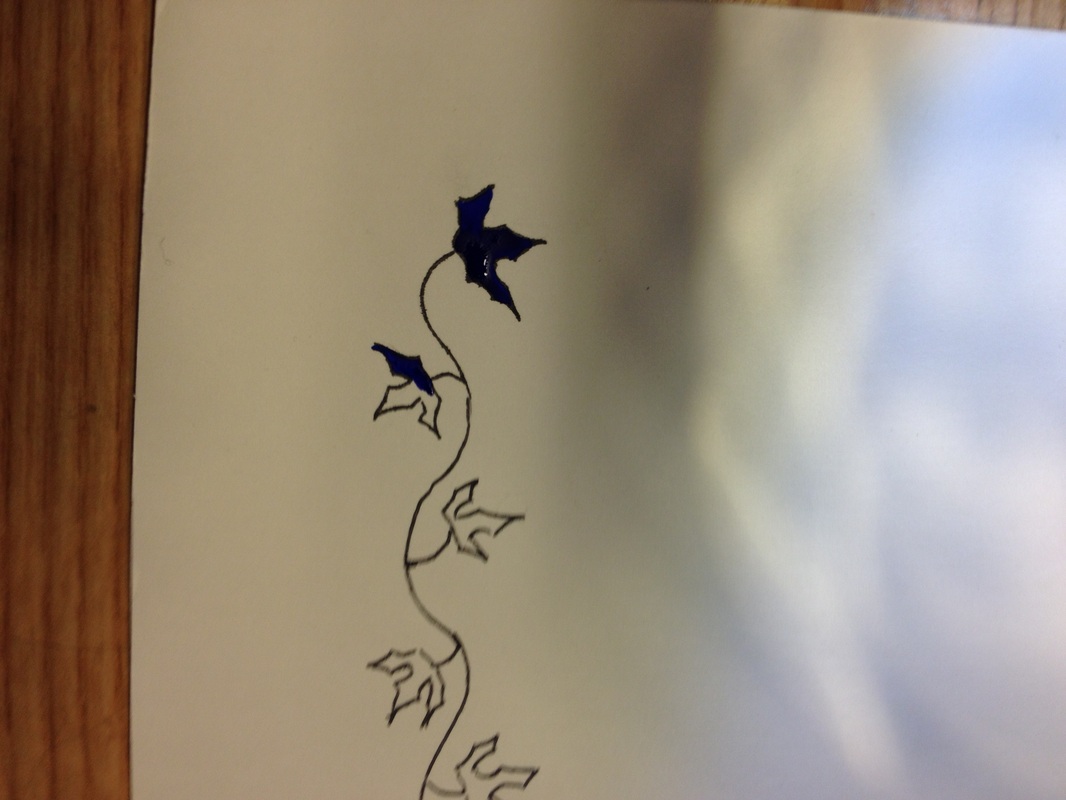
The picture on the left is just a pencil drawing of vine and leaves on 100 lb bristol board. I used Higgins eternal and a crow quill pen to outline the vine and leaves (middle picture). As you can tell, the picture on the right shows that the ink is not exactly over the pencil lines and that is perfectly okay. The pencil is a guideline. You will be erasing those lines in a minute.
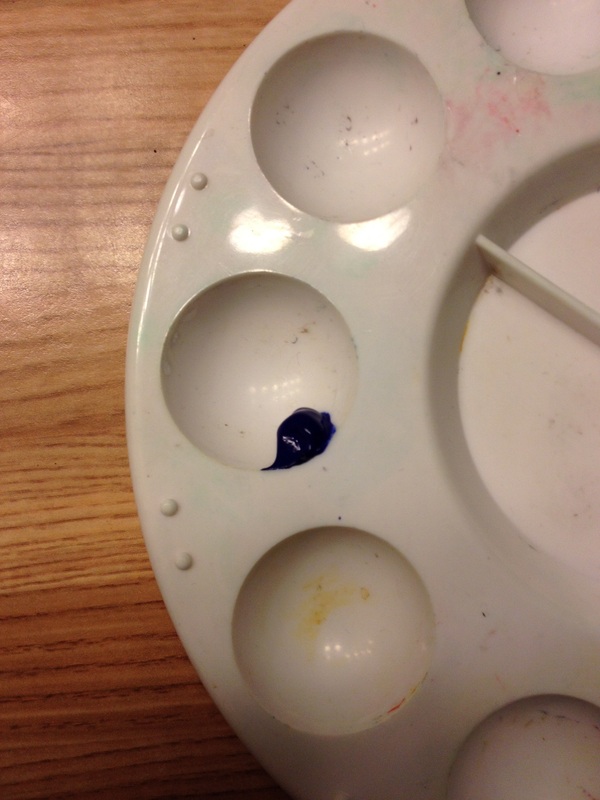

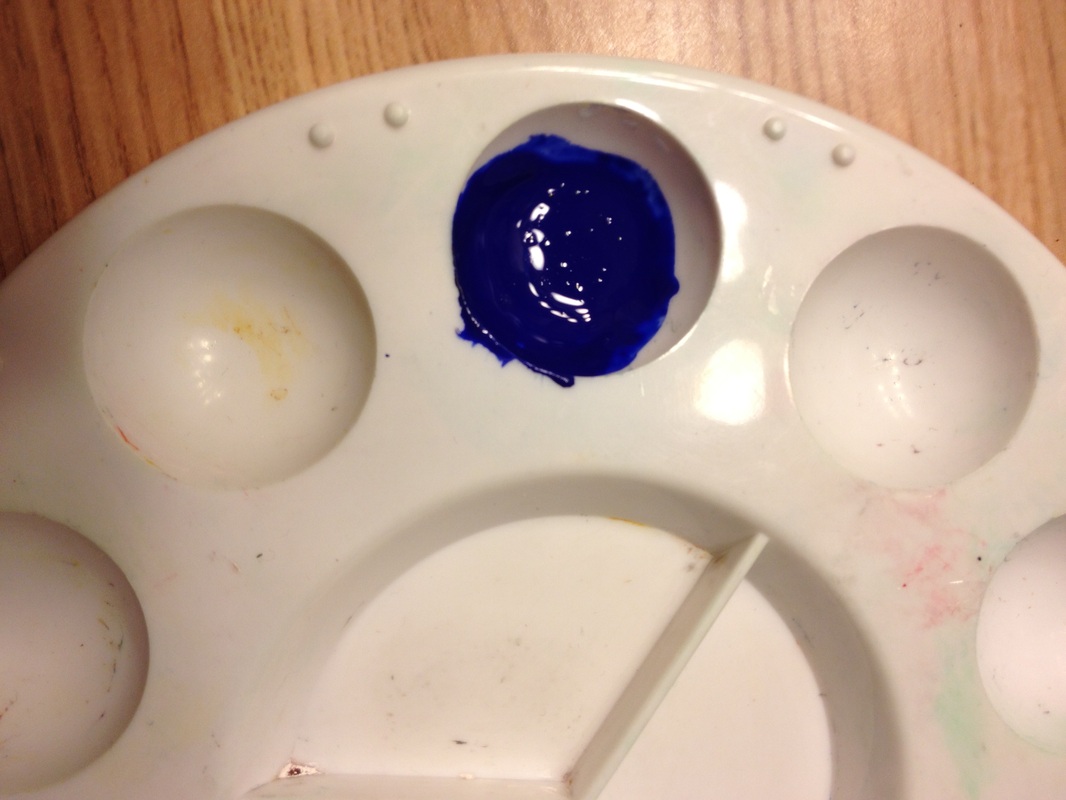
While you wait for the ink to dry, you can mix your paint. I am going to go straight with out of the tube for right now, while we figure out how to actually paint. Once we get beyond the mechanics, I will talk about color matching and mixing paint. But not yet. Put a little bit of paint into your paint palette and using a pipette or eye dropper add one drop of water. Mix the paint with a mixing brush or toothpick (shown in middle) and check the consistency. You keep adding one drop of water until the paint is the consistency of cream and should look like the paint on the right.
If the paint is too dry, add water, if it gets too wet, either add a little paint, or walk away for a while so that the paint dries a bit. This part may take some practice. That is why you use a pipette and put in one drop of water and mix. For the paint above it took three drops of water to get the right consistency.
If the paint is too dry, add water, if it gets too wet, either add a little paint, or walk away for a while so that the paint dries a bit. This part may take some practice. That is why you use a pipette and put in one drop of water and mix. For the paint above it took three drops of water to get the right consistency.


Take your plastic white eraser and go over the inked vines and leaves. Ink dries fairly quickly and it should be dry by the time you are done mixing the paint, but you can check by testing it with a finger on an edge. When dry, erase. Next step - start painting. Fill your brush with paint and start at one corner of the leaf and work out toward the rest of the leaf, always painting wet on wet. Your paint brush should be perpendicular to your work and you should be painting with ONLY the tip. Lay a little bit of paint down, and then pull the paint across the paper, then get more paint. For the leaves above for each leaf I dipped by paint brush three times so that should give you a guideline.
I try to work from left to right or top to bottom so that I don't end of putting my hand/arm across already wet paint. Don't go back over the paint once you have set it down as this will cause streaks. Let is dry and then check your work. It should look all one color and smooth.
You will need to do this a couple of times in order to get the hang of it.
Please post in the comments if this is helpful, what questions you have, and what you would like to see next.
 RSS Feed
