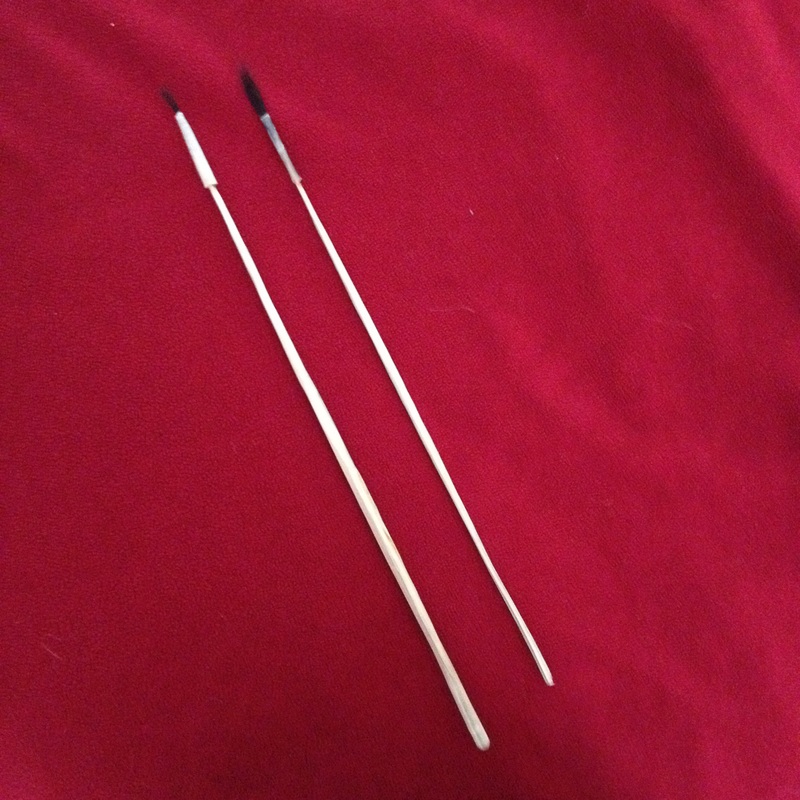
I will be bringing them to the Uber Crafty in a couple of weeks and perhaps some others can make their own quills. :-)
|
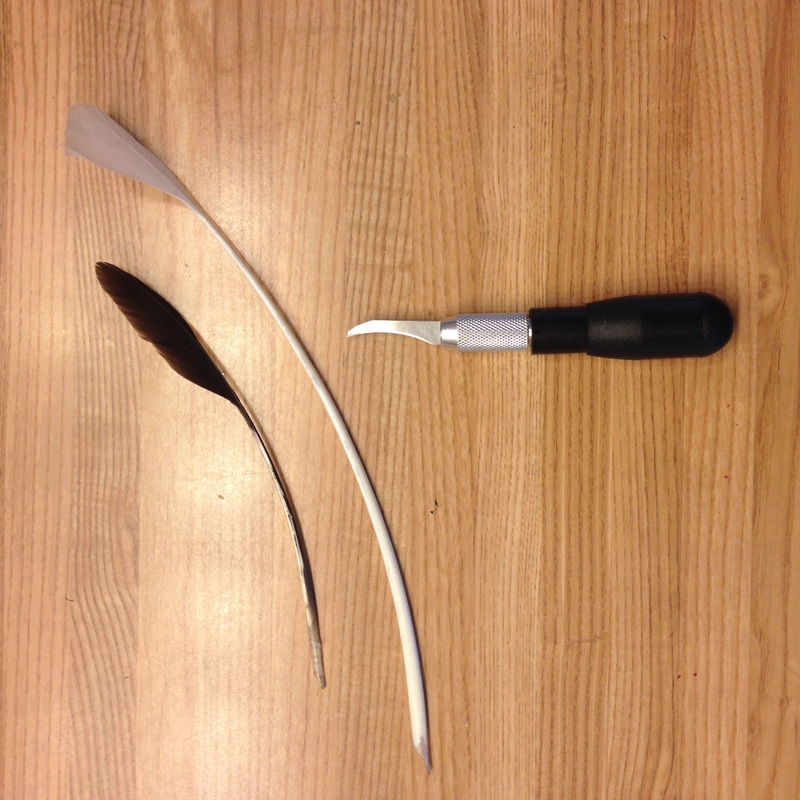
I bought an honest to goodness carving tool and made two quills (technically three, but the third one is not here). I have even used them with some modicum of success.
I will be bringing them to the Uber Crafty in a couple of weeks and perhaps some others can make their own quills. :-)
0 Comments
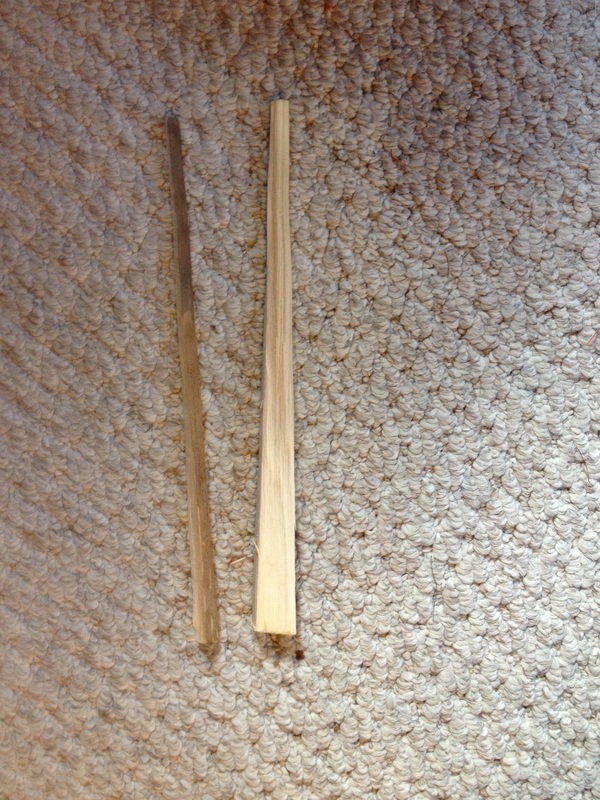
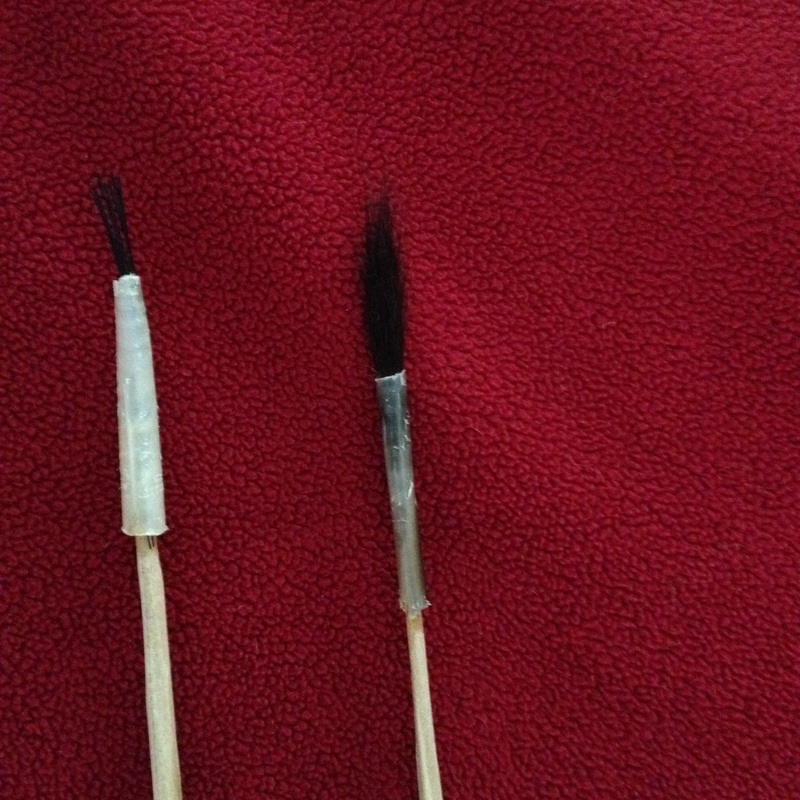
Pennsic, with its loads of lovely time the first week is a great time to adjust to not going at a hectic pace. I brought my art gear with me, including some feathers, fish glue, hog's hair, an ermine pelt, thread, and wax. Research information: You can see some of my previous research on the paint brushes and my earlier trials here and here and here I did realize that I started this paintbrush journey in August of 2013. I took a piece of wood from the wood pile and with the guidance of Gaius, and borrowing a wood carving tool from Nicolette, I took a piece of wood and split it into some straight pieces. And then sanded, whittled and made them into the nine inch long brush handles I needed. As I was relaxing doing this, and at Pennsic, there are no process photographs because I really don't believe in using a phone at Pennsic unless it is an emergency. So it didn't even occur to me to take photos. Ah well. I have refined the process down to whittle the brush handle, snip the tail off of the ermine, using thread that I have waxed and tying the hair into a neat bundle. The next step is hollowing out the feather base for the ferule, slipping the hair into the feather case, and applying fish glue affix the case to the hair at the base. After that has dried, applying fish glue to the brush handle and pushing it in snugly into the ferule. Voila!
|
NataliiaMy avocation is artist. This is where I leave art, the process of art and my discoveries. Archives
June 2022
Categories
All
|


 RSS Feed
