Layout
You are new to scribing and you don't know where to start. Let's start a project together.
I'm going to set out a project that you can try and this will take you from layout to finished product in a couple of weeks time. I am hoping that I can devote every at least one day a week to a quick update on the next steps.
Today, we do layout.
Get your materials out. You need a pencil, t square, ruler, eraser and paper.
Since this is a practice, use good quality materials to practice, but you don't need to get velum or pigments at this point. A good quality bristol board paper, a mechanical pencil and a t square will do.
This should be the first step to every single piece you ever do.
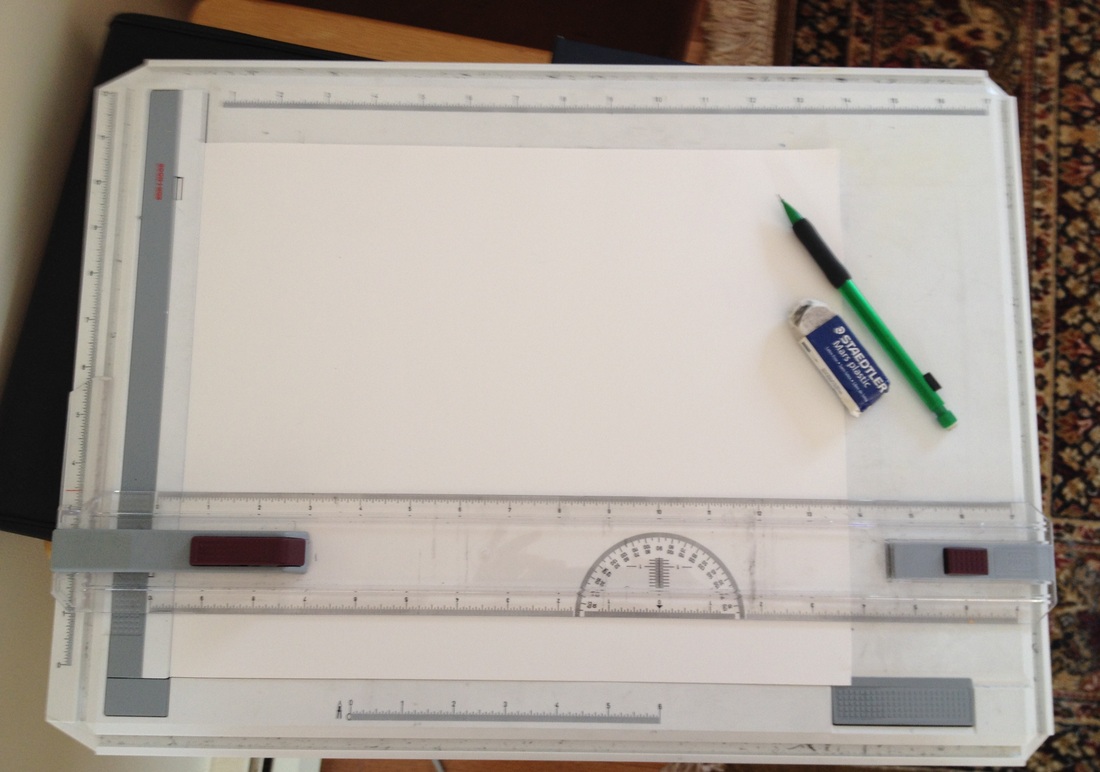
Lay out your paper on a flat surface. I use a Koh-I-Noor portable drawing board. It has its own detachable t-square. A flat table is perfectly fine, the kitchen table, or a desk. If you have a drawing table that is nice too.
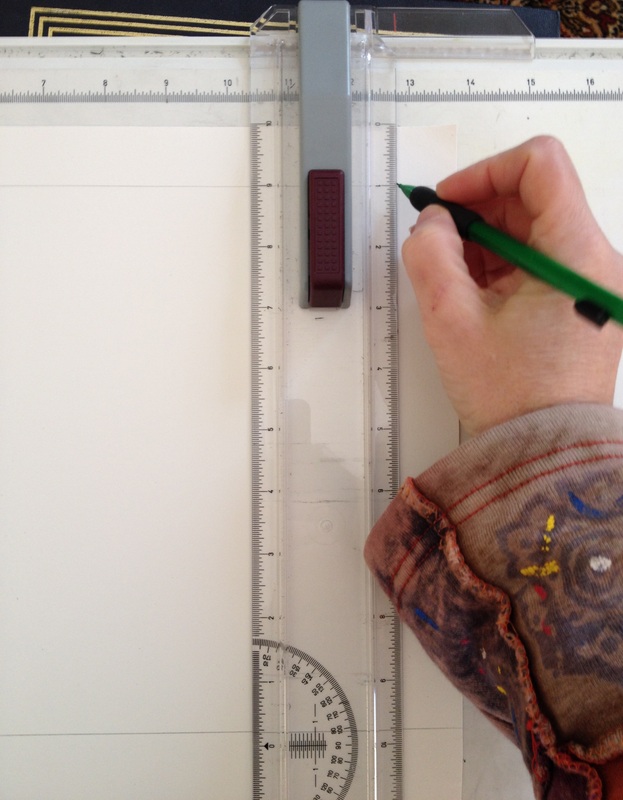
Step One: Measure 1 inch in on all sides. If you are just using a ruler, make two marks so that you can draw a straight line between them. Using the t-square makes sure that you will have square corners and not be crooked, that's why I recommend one.
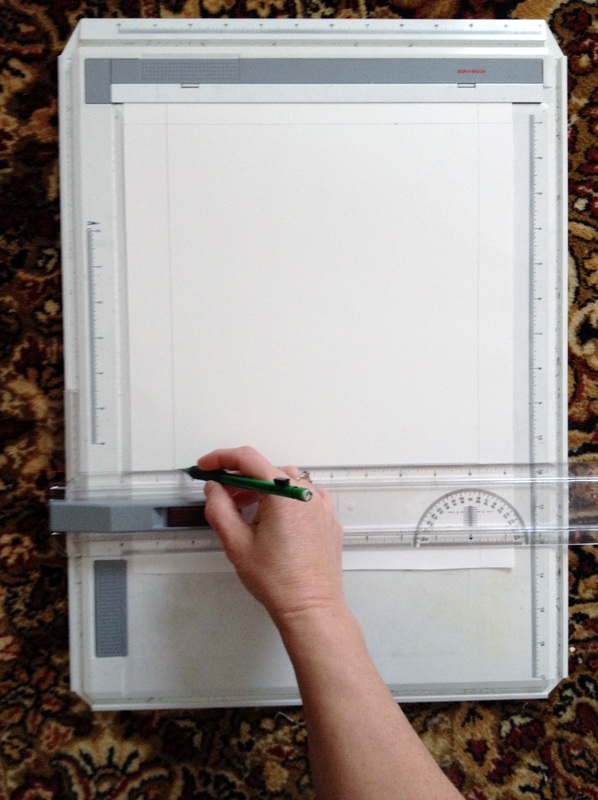
Step Two: Take the t-square and draw a straight line 1 inch in on all four sides. See below. You can make a larger border, but the 1 inch is a minimum. The interior of this border is where your art will be placed.
Step Three: You can also make a second border above the bottom border so that you have room for the royal signatures. I usually use three inches, but sometimes I will incorporate the signatures into the design. We will talk about that adjustment in a later installment.
Now we pick out our design: A nice initial. This is the Codex Mellicensis 74, 15th century, Austria. I found it by using the Vivarium website which you can find here and doing a search under "Search for Illuminated Capital Letters" and put "C" into the search.

I will now work on the layout for the initial and any accompanying design. I print a copy of the example so that I have it to refer to during the entire process.
Step Four: I measure how wide the leaves are to leave enough room for them, and how wide the initial letter is. In this case, the floral decoration is 1 inch wide.
Step Four: I measure how wide the leaves are to leave enough room for them, and how wide the initial letter is. In this case, the floral decoration is 1 inch wide.
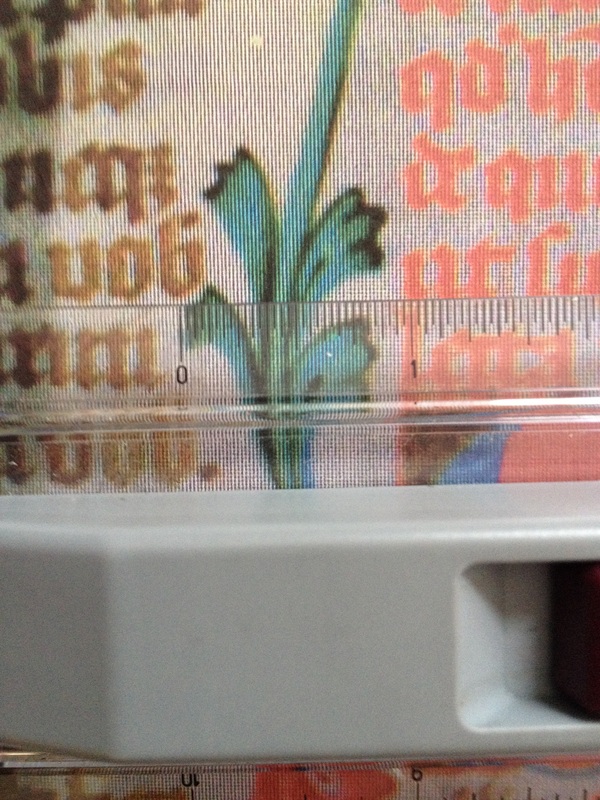
And the initial letter was 1 1/2 inch by 1 1/2 inch.
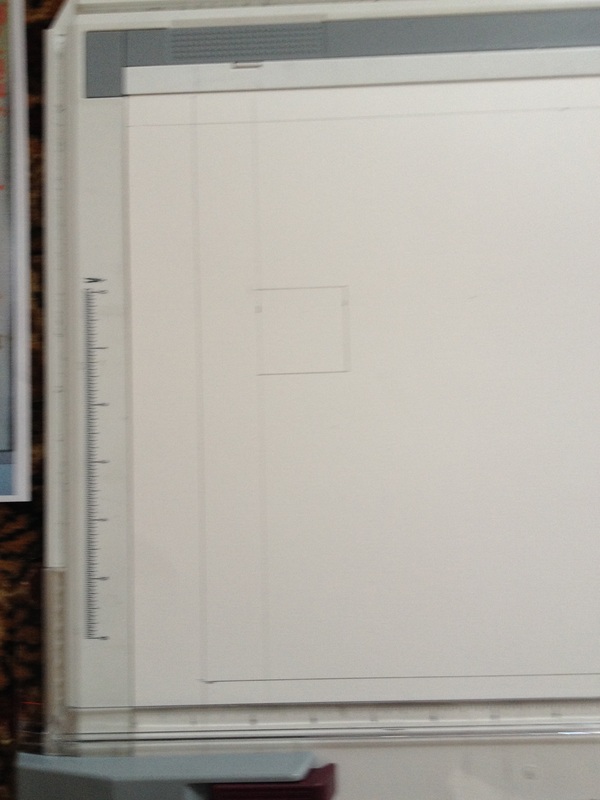
Step Five: I mark 1 inch from the left margin for the floral design and draw a 1 1/2 inch by 1 1/2 inch box for my initial letter. Sorry for the blur, sometimes the photography escapes me. But I think you can see the idea.
Step Five: I mark 1 inch from the left margin for the floral design and draw a 1 1/2 inch by 1 1/2 inch box for my initial letter. Sorry for the blur, sometimes the photography escapes me. But I think you can see the idea.
Step Six: Once you have the where you will be putting things laid out, you want to then sketch in your design.
You have some options and they are all acceptable. You can use a light box to trace the design, tape the original to a window on a sunny day and trace the design, or you can free hand the design. You should do whatever option you are comfortable with. Once you have had quite a bit of practice, familiarity and confidence, you will find that you can free hand future designs but no one is going to give you a hard time when you are beginning if you use tools to assist you in learning. If anyone does - just send them to Nataliia. :-)
You have some options and they are all acceptable. You can use a light box to trace the design, tape the original to a window on a sunny day and trace the design, or you can free hand the design. You should do whatever option you are comfortable with. Once you have had quite a bit of practice, familiarity and confidence, you will find that you can free hand future designs but no one is going to give you a hard time when you are beginning if you use tools to assist you in learning. If anyone does - just send them to Nataliia. :-)
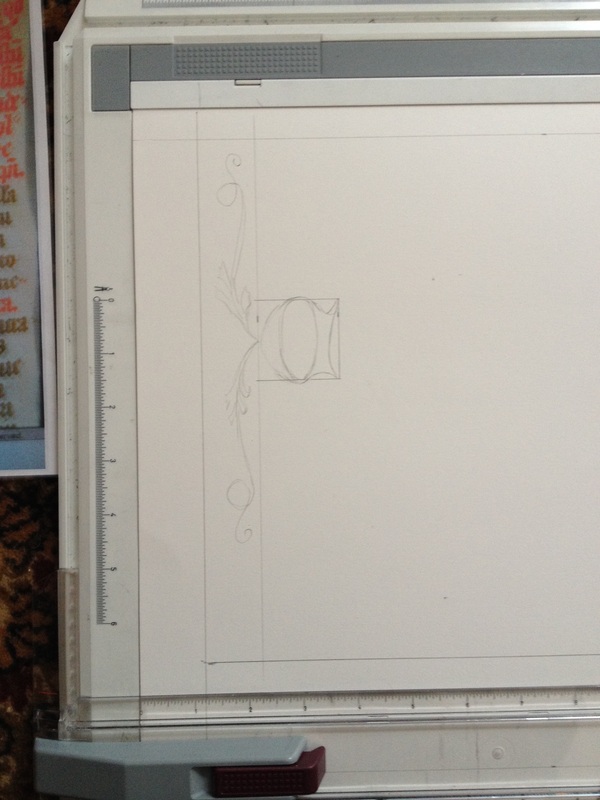
Design is sketched in. You have plenty of room for the calligraphy (which we will not go into here yet), and your layout is complete. Congratulations.
Next time we will start with this design and start inking and painting.
Next time we will start with this design and start inking and painting.
 RSS Feed
